The usual way to photograph lightning at night is to place a 35mm camera on a tripod, set to manual time exposure with shutter to "bulb", open the shutter, allow the lightning to "photograph" itself then close the shutter. The exposure time and f- stop setting adjustments are determined by trial and error and experience. With a little luck one can get a shot or two. One day I tryed just setting the camera on auto exposure and with the shutter set to bulb, started a exposure. During the time the film was being exposed, lightning flashed then the shutter closed itself. I used a Olympus OM-2 35mm camera. To my surprise, every photo taken this way had lightning.
These important considerations should be used to set your camera.
1. Sky and foreground illumination:
When taking a photo, city lights bounce off
the
clouds and slowly expose the film. If the exposure is set to
automatic,
several seconds will pass before the shutter closes, leaving you a
perfectly
exposed sky. Such a photo is fine if lightning flashed during the
shot. Before loading the film try some test shots, adjust the f
stop
so when a photo is taken, the time of the exposure is about 15 to 60
seconds.
Deciding the length of time will depend upon how frequent the lightning
strikes are. Shorter time periods will be less likely to capture
a flash and more film will be required. After opening the shutter
with the release, the film will start to collect light, the race begins
between getting a flash or running out of time before the shutter
closes.
If a flash occurs early into the shot the lightning flash is captured
and
the shutter closes while the sky remains dark.
2. Film speed selection:
I use ASA 100 or 200 print film for most of the time. Use of ASA 400 will require smaller f-stop to give enough time for the exposure "window". Keep in mind, the f-stop controls the exposure of the lightning channel during the flash, but also determines how long the camera shutter may remain open. Bright and close lightning will require a smaller f-stop, while the opposite for distant and dim lightning.
3. Setup:
Place camera on tripod. Adjust focus to
infinity and lock with tape. Set to automatic exposure and f-stop
as described above. Use a cable release to start exposure.
If you run a tape recorder you can give yourself notes concerning frame
number, f-stop, strike conditions and other helpful information.
Writing notes can be difficult and distracting while
photographing.
Remember to set camera to "bulb" or all your shots will be at the
default
time of 1/60 second as is the case with the OM-2. I shot a whole
roll this way during a really good display of lightning in
Michigan.
Try different f-stops to increase the odds of a good shot.
Photos
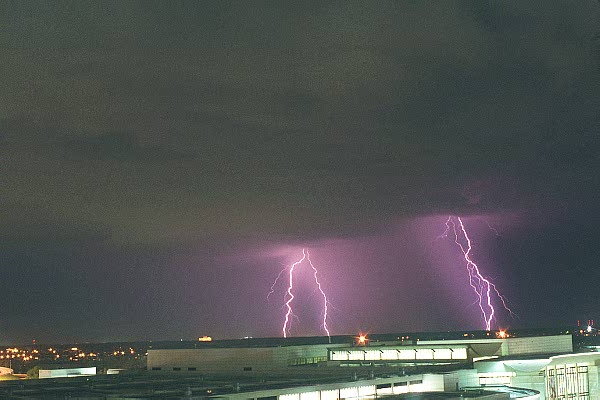
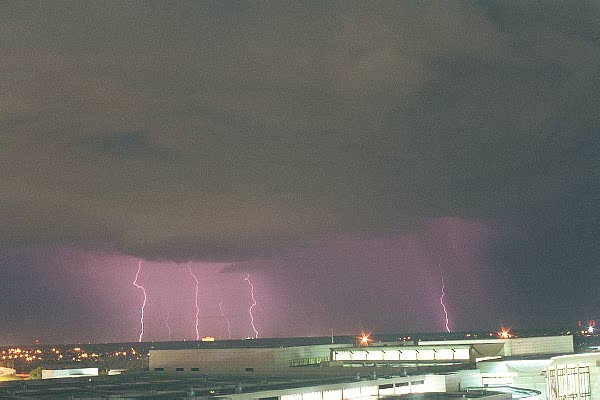
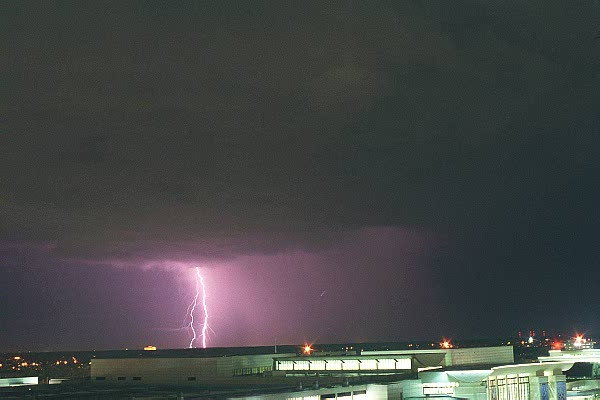
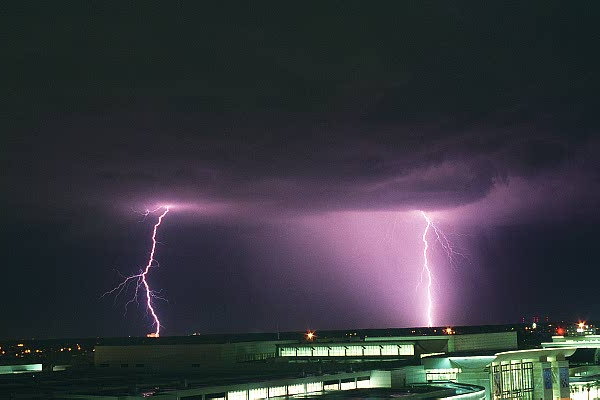
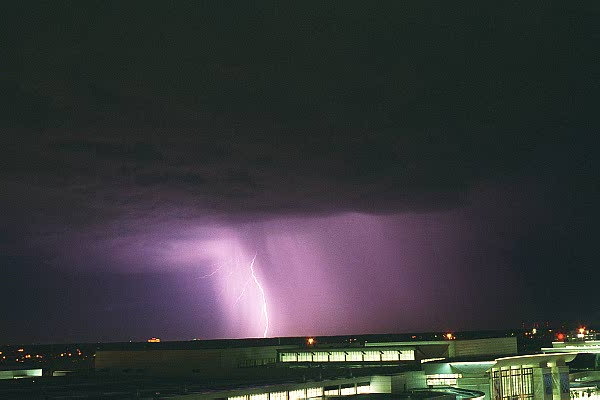
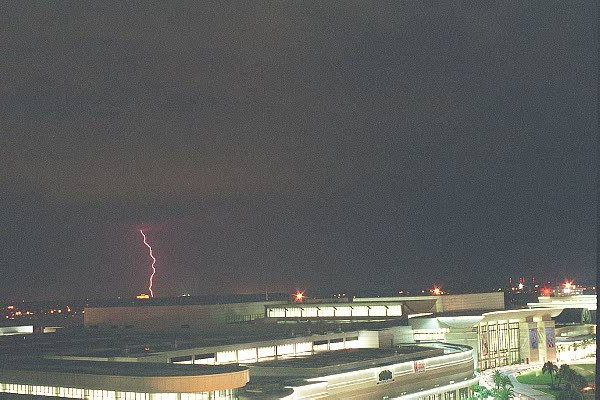
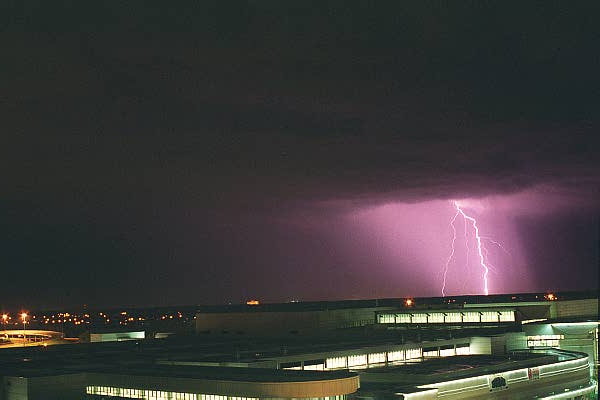
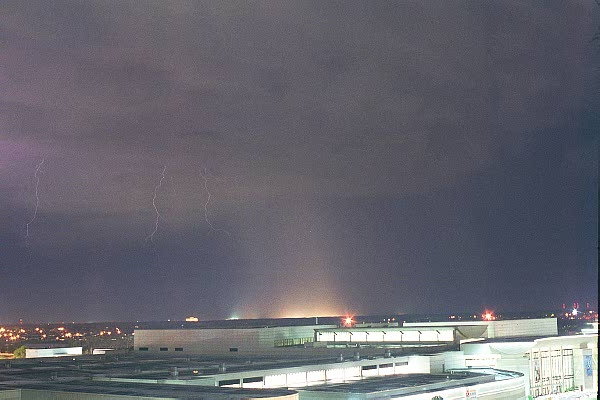
These photos were taken while in Orlando Florida during our first National Botball Tournament on July 21, 1999. The storm that brought the lightning, postponed the shuttle launch that week.. The photo above was taken with Kodak Gold 100, camera set to f/8 while the rest were Kodak MAX 400 film set to f/5.6
If you have a digital camera with "movie mode", you can capture lightning strikes. Here's some shots of lightning in Hayward, California taken with a Olympus D-370 (9/4/03)
Hayward gets very few lightning storms Daily Review article
AVI's are DIVX compressed