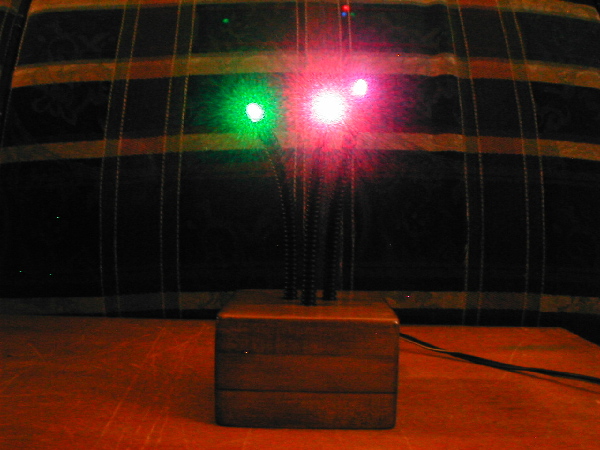
Jessa Flower/Sensitive Plant E field senser Ring Oscillator Artbot
Fixture Bill's
Sumobot Science
Festival CSUH 2005
Jessa Flower/Sensitive Plant E field senser Ring Oscillator Artbot
Fixture Bill's
Sumobot Science
Festival CSUH 2005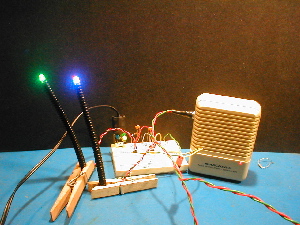


 |
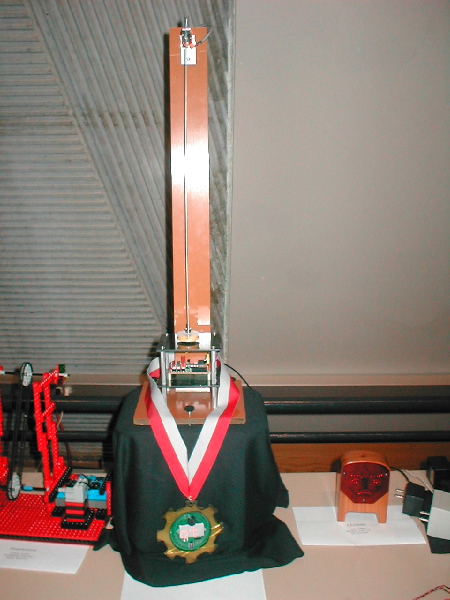
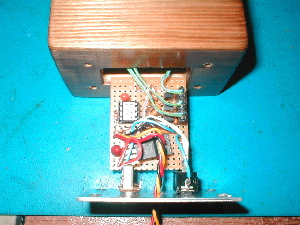
PIC
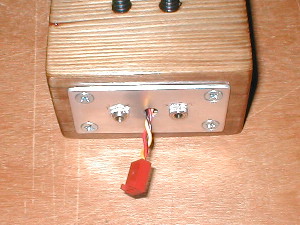
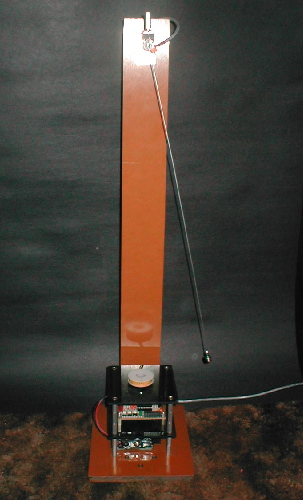
Powered Pendulum Once you start a pendulum, each swing becomes less and less due to loss of energy and eventually the pendulum will stand still. If you can give the pendulum a little kick on each swing, the pendulum will keep going I devised a method using a PIC microprocessor to detect the swing and give it a kick automatically at just the right time to keep it going. The pendulum bob has a magnet at the end and on each swing the magnet crosses a coil. If a magnet in motion passes over a coil, a voltage is generated. The voltage rise can be detected using the PIC's on-board voltage comparator. After detection, power can be applied to the coil as a pulse, to draw the magnet, along with the pendulum bob closer to the coil. Pulling in the bob quickly, restores energy loss during each swing. The amplitude of the swing can be adjusted by setting how long the pulse lasts. Since the period of the swing is dependent on the length of the pendulum and each swing triggers a pulse, the PIC pendulum driver will automatically adjust on just about any pendulum length. Swing amplitude is controlled by two buttons on the controller and adjust kick duration from 1 to 20 milliseconds. A third button and LED is used to indicate kick time and save setting into data memory. |